How to Become a Pro with the Clone Stamp Tool in Photoshop?
Photoshop Clone Stamp Tool
As a newbie exploring Photoshop, you would have dipped your toes into the tool’s many offerings or navigated its waters for a while and understood, there's always a new horizon to explore. Learn about one of Photoshop's most versatile tools - the Clone Stamp and it will be helpful for the progress of your career.
The Clone Stamp Tool is a must-have in the toolkit of any designer and it is worth learning how to use it; be it an independent freelancer or a seasoned professional in a design agency. Well, this blog’s objective is to help you become more proficient with this powerful tool and bring you a step forward in mastering Photoshop’s arsenal tool - Clone Stamp Tool.
The Clone Stamp tool is your secret weapon for enhanced image editing. It gives you the power to replicate specific areas of your images, erase unwanted elements, and make flawless adjustments to the image projects you are working on.
To use the tool in a better way, you should truly understand the workings, uses, and some little-known tricks of the Clone Stamp Tool. Don’t worry! This blog will help you dissect its features and settings and share some insider tips on how to wield it most efficiently to reap the best benefits.
Creating captivating graphics or capturing life's precious moments through photography, mastering the Clone Stamp Tool can greatly elevate the quality of your work. Read on….
What is the Clone Stamp Tool?
First understand that the clone stamp tool in Photoshop allows you to copy pixels from one part of an image and apply them to another part, this is the basic knowledge one should have. It’s just like a brush that paints with image pixels, imagine it is a useful feature and yet so fun. This makes it incredibly reliable for a designer when it comes to duplicating objects, removing unwanted elements, and even covering up errors or blemishes.
The clone stamp tool is truly versatile, but its effectiveness lies in the expertise of the designer.
Sure, let's discuss how to get the most out of this tool.
The key to utilizing the tool properly is understanding how to alter its settings to meet your needs, but you should also be familiar with the fundamentals of design. For example, the tool's settings menu allows you to customize numerous features of the brush you have selected. You can alter the brush's size to fit the area you're working on, as well as the hardness, to achieve a softer or sharper effect and it all depends on the project you are working on.
Assume you're working on integrating cloned portions into the remainder of the image. In this scenario, a gentler brush might be useful than a thick one. This is because it results in a more seamless transition between the cloned area and its surroundings. On the other hand, if you're copying discrete pieces that must remain sharp and clear, a harsher brush is a better choice and as a designer, you would already know the usability of different available brush sizes.
The settings bar also allows you to adjust the opacity and flow of the brush. The opacity parameter influences how visible the duplicated items will appear. If you want them to stand out more, raise their opacity. If you want them to blend in, reduce it.
As for the flow setting, it controls the speed at which the cloned pixels are applied as you paint. This is useful for gradually building up the cloned area, allowing you to have more control over the final result.
So, as you can see, understanding and adjusting these settings can really help you apply the tool with precision and achieve the effect you're after.
Another secret of using the Clone Stamp tool in an effective way is choosing the right source point. The source point is the area you are cloning from, basically the base image and it’s selected by Alt-clicking (Windows) or Option-clicking (Mac) on the desired area. The choice of source point can significantly impact the result of your project. For instance, if you're removing a blemish, you'd want to select a source point with similar texture you have in your mind and accurate lighting to the area you're correcting. If you're duplicating an object, you'd select the object itself as the source point, won’t you? So, understanding how to utilize these features can greatly enhance your Photoshop editing skills.
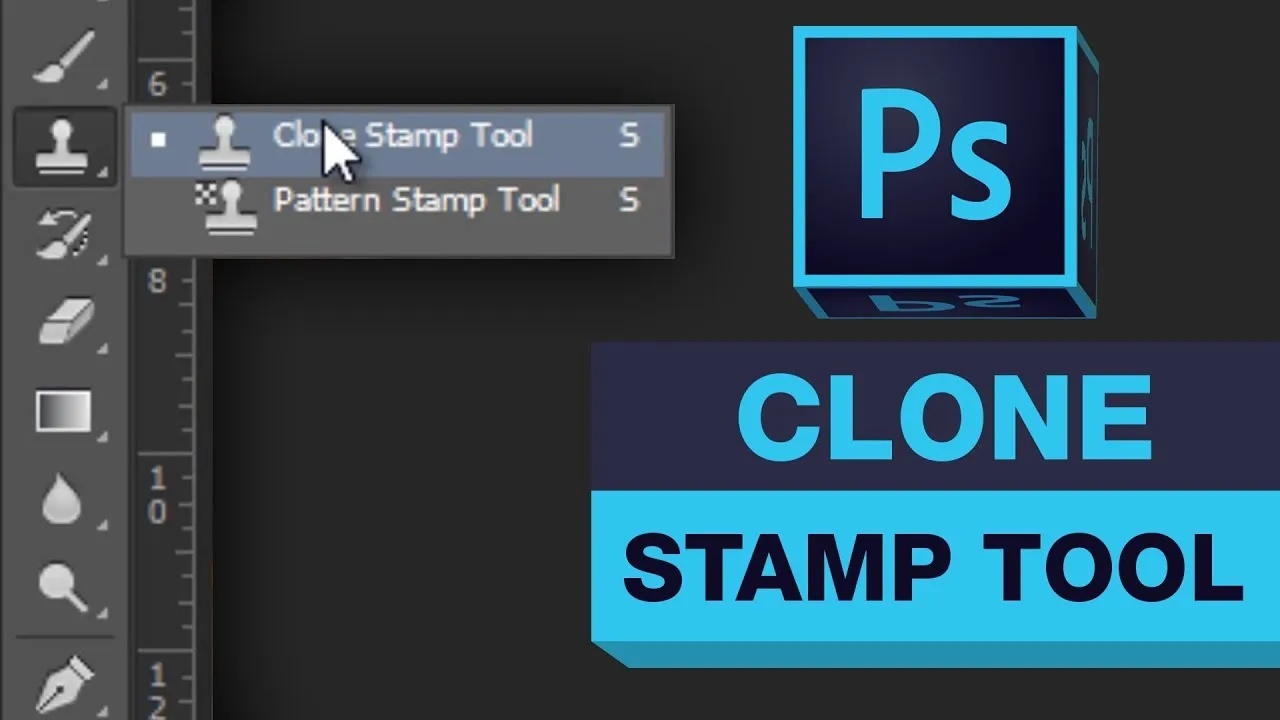
Where to Find the Clone Stamp Tool in Photoshop
In the Clone Source panel, you can manage multiple clone sources, modify the size and shape, and even visualize the source overlay to ensure precision. You can also flip the clone source horizontally or vertically, providing greater flexibility when working with mirrored images or symmetrical designs. This panel also allows you to reset the clone source if you want to start over, offering a lot of control and customization to achieve your desired result.
When the Clone Stamp tool is active, a menu of brush selections appears at the top of the workspace that you have opened on your system. These choices allow you to adjust the hardness or softness of the cloned region, the size of the brush, and even the opacity of the copied content. Well, another secret is that you may also select a blend mode for your Clone Stamp tool, which allows you to control how the copied pixels interact with those in the destination area. For example, the "Multiply" mode can result in a darker look, whilst the "Screen" mode can lighten the cloned area. These features can significantly improve the flexibility and precision of your cloning jobs in Photoshop.
How To Use Clone Stamp Tool in Photoshop
The process of using the Clone Stamp tool is relatively straightforward and simple. Basically, it is not a Herculean task and anybody can master it. Here's a step-by-step guide on how to use it:
Step 1: Open the Photo and Zoom In
Well, to get started, open the image you want to edit and zoom in on the area you want to work with. Don't zoom in too close though, keep enough context so you can see what's happening in the image and this is important not only when you are using a clone stamp, but also while using any tool in Photoshop.
Step 2: Select a Clone Source
Next, choose a clone source. This is the area of the image that you will duplicate. To do so, move your cursor to the region you want to clone and use Alt-click (or Option-click on Mac) to establish your source point.
Step 3: Paint Over the Object You Want to Remove
Now, begin painting over the object or region you wish to change or eliminate. The trick here is to ensure that the cloned area integrates perfectly with the remainder of the image.
Removing Unwanted Objects With the Clone Stamp Tool
One of the most common uses for the Clone Stamp tool is to remove unwanted objects or blemishes from photos.
For example, if you have a great photo for a client's fashion ad but there's anything disturbing in the background, you may use the Clone Stamp tool to remove it. This might be a stray hair, a photobomber, or a piece of trash on the ground.
Removing Skin Imperfections With the Clone Stamp Tool
The Clone Stamp tool is especially useful for retouching portraits and erasing skin blemishes. You can use it to remove spots, blemishes, and wrinkles.
Finally, remember that, while the Clone Stamp tool is strong, it takes practice to use well. Begin with simple jobs like removing little things or imperfections, and as you gain confidence, progress to more challenging tasks such as removing larger objects or individuals.
Remember that the key to achieving a decent outcome is to avoid noticeable patterns and to integrate your copied portions seamlessly with their surroundings. With expertise, the Clone Stamp tool can become a vital element of your Photoshop toolset, allowing you to generate faultless graphics for your business.